

How We Design and Build Our Display Cases
A display case has a fairly simple job: protect what’s inside and make it easy to see.
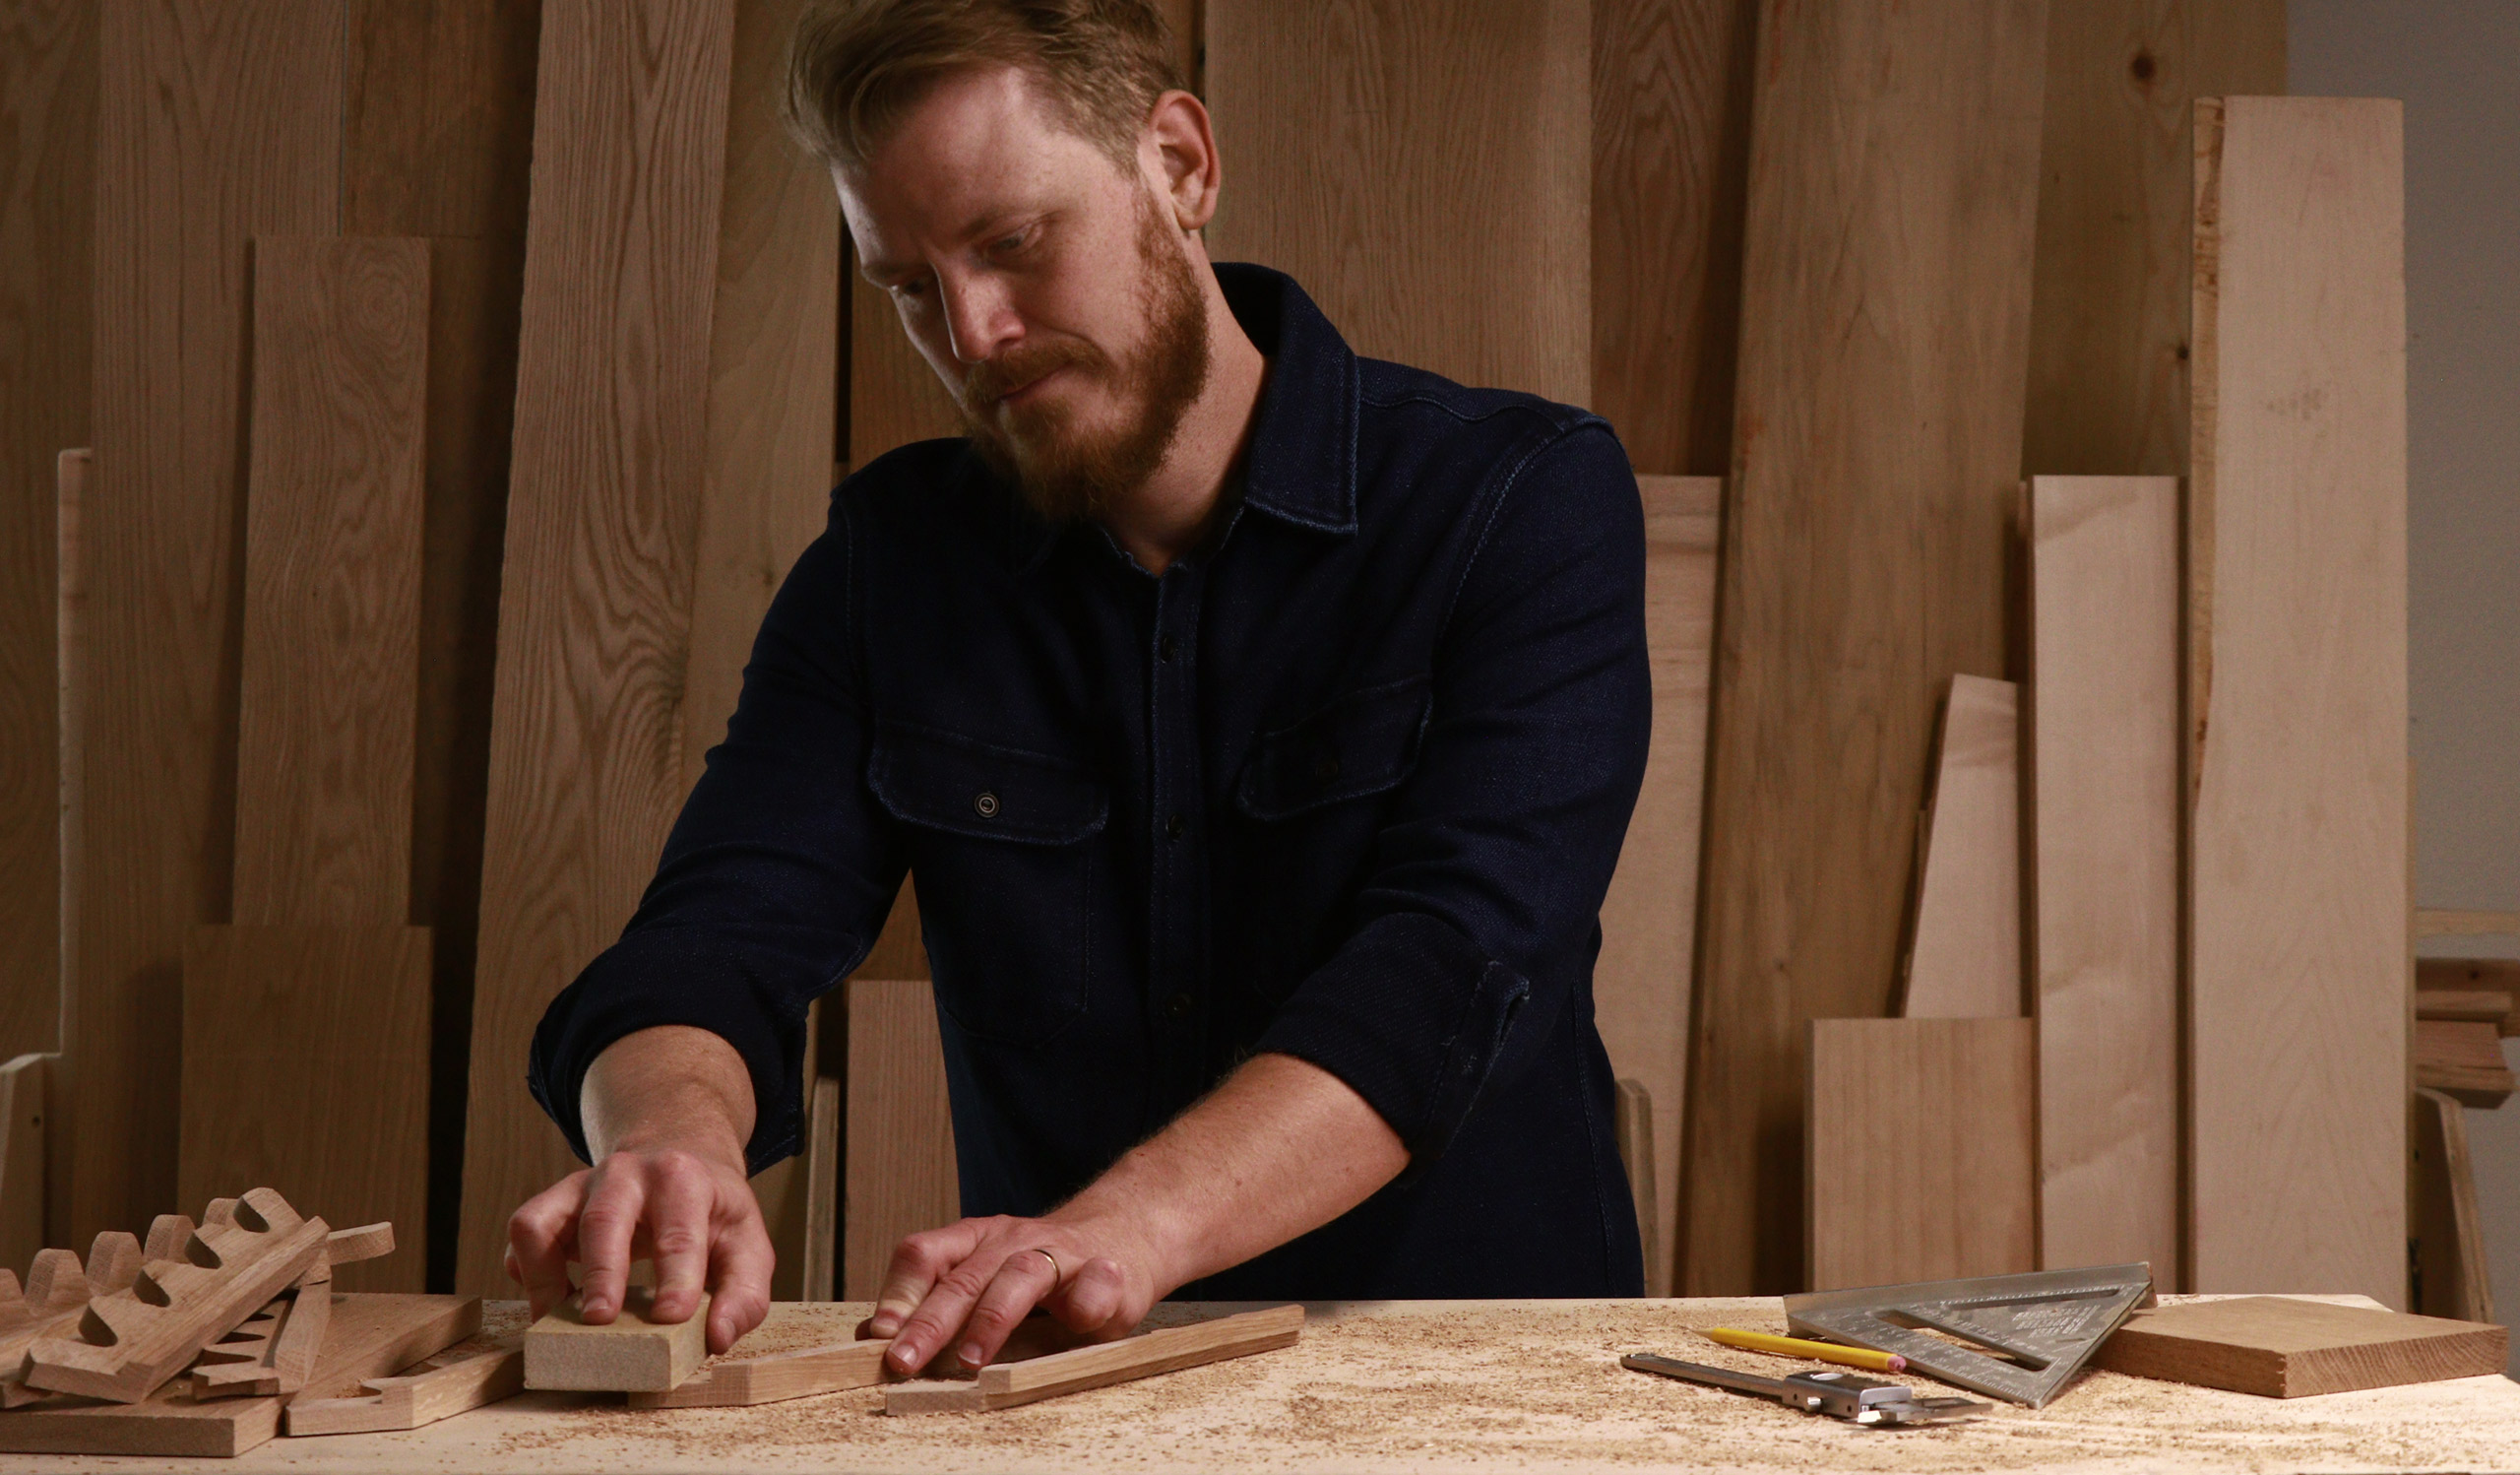
But simple doesn’t necessarily mean easy to get right. Our background is in fine furniture and home decor, so when we started designing display cases, we approached them the way we’d approach any piece meant to live in someone’s home — proportions, materials, and how it sits in a room.
Why we started designing our own
Two things pushed us into making our own.
The first was space. As model car collectors ourselves, we kept running into tabletop cases that technically fit the car — there was enough room to close the lid — but visually, the model felt cramped. Being from Sweden, we’re naturally drawn to a fairly simple design philosophy: give things room to breathe. Put some intentional space around a model car and your eye goes to the car. Squeeze it into the smallest box it’ll fit inside, and suddenly the case is what you notice.
The second was quality. We found plenty of inexpensive cases that felt plastic and disposable, and at the other end, beautiful custom displays that could cost as much as the collectible going inside them. We wanted something in between — quality materials, built to last and look good in a home, without the case becoming the most expensive part of the collection.
That’s the space we’ve been designing Proper Display around.
Start with what’s going inside
There’s no one perfect display-case size, because collectibles are too different from each other. Even within something seemingly standardized like 1:18 model cars, dimensions and proportions vary considerably. Move into LEGO® builds, sports memorabilia or figures and the differences get much bigger.
So when we work on a new size, the question isn’t just “will it fit” — it’s “will it look right.” We’ve learned that a good display needs enough room to work with a variety of pieces while still feeling like it was made for whatever’s actually inside it. That’s also why we offer different sizes instead of trying to make one case work for everything. A little extra room can make a display better; too much can feel just as wrong. Finding that balance is most of the design work. The type of display matters too — we’ve written more about choosing between wall-mounted and tabletop display cases.
From pencil to prototype
Our process usually starts well before we think about how something will actually be made. First we try to understand what the display needs to hold and how someone will use it — how big the collectible is, where the case might live, whether several will sit side by side, whether it needs easy access, and if it’s wall-mounted, how it stays secure without getting complicated.
Then we’re surprisingly old-school about the next step: we sketch it with pencil and paper. Those sketches move into CAD, where we refine dimensions, proportions and how the pieces fit together. And then comes the part you can’t really replace with a computer — a physical prototype. Something can look perfectly proportioned on a screen and feel completely different sitting in front of you. Prototyping is where we adjust fitment and spacing until it feels right, not just until it matches the drawing. It’s rarely one big change. It’s a collection of small ones — a little more space here, a tighter fit there — until those small changes become the production design.
Why we use real wood
Given our background in furniture and woodworking, real wood was the natural choice. We love that it doesn’t feel manufactured the way a lot of other materials do — grain, tone and character vary from piece to piece. Oak doesn’t look like walnut, and one walnut board won’t look exactly like the next.
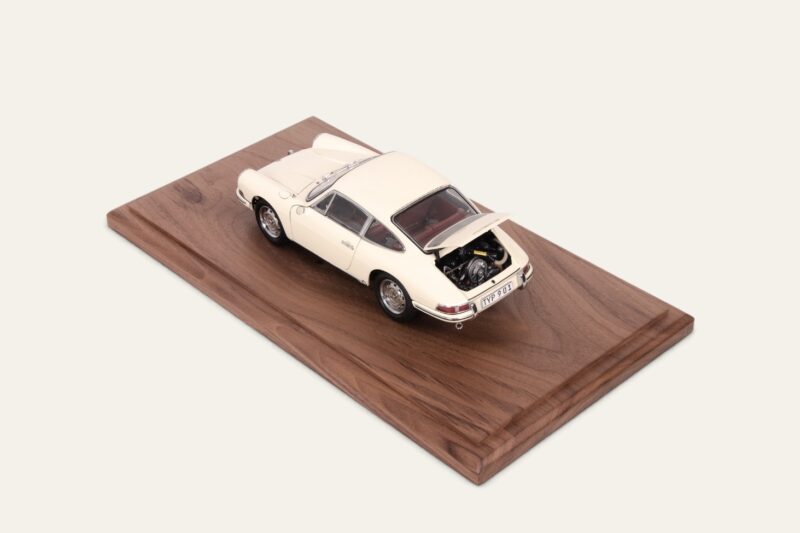 More than that, wood brings warmth into a room. A display case shouldn’t overpower what’s inside it, but it’s still an object that lives in your home, and we want it sitting alongside your furniture, not looking like a plastic container that happens to be on top of it. We use locally sourced wood and offer different materials and finishes — including oak, walnut and black — partly so the case can complement the collection, and partly so it can complement the room it’s actually going in.
The goal isn’t for someone to walk into a room and notice the case before the collection. The case should take the backseat — just a very nice backseat.
Designing a wall mount that doesn’t feel complicated
Wall-mounted displays come with their own challenge: putting something you care about on a wall takes a certain amount of trust. We tried a few approaches before settling on a cleat-based mounting system, mostly because it’s simple from the user’s side — the hardware stays subtle, the case feels secure once it’s up, and it still comes off the wall without turning into a project.
That last part matters to us. We don’t think something has to be complicated to be strong. If anything, we tend to overengineer our mounting designs — testing them with loads and treatment well beyond what we’d expect from normal use before we’re satisfied. A collectible can be valuable in dollars, but it can just as easily be valuable because of where it came from or what it represents. If something matters enough to put on display, the display itself shouldn’t be the thing you’re worried about.
Making a collection look proper
After all the sketches, CAD drawings, prototypes, material choices and testing, the goal is actually pretty simple. We want someone to put a collectible they care about into one of our displays, step back, and feel like it finally has the presentation it deserves.
Not hidden away. Not crammed into a box. Not overwhelmed by the display around it.
Just protected, given some space, and looking proper.